
Slate has been the ultimate roofing material of choice for centuries. In fact, quality slate roofs are so reliable, they’re typically given a 100 year warranty.
This article will teach you the 5 steps of mining and manufacturing slate. You'll also learn the different categories used to grade slate thicknesses and color variations.
Slate is a highly durable metamorphic stone made from sediments that form into clay. The clay was heated by geologic conditions to a few hundred degrees. When it cooled, it became stone.

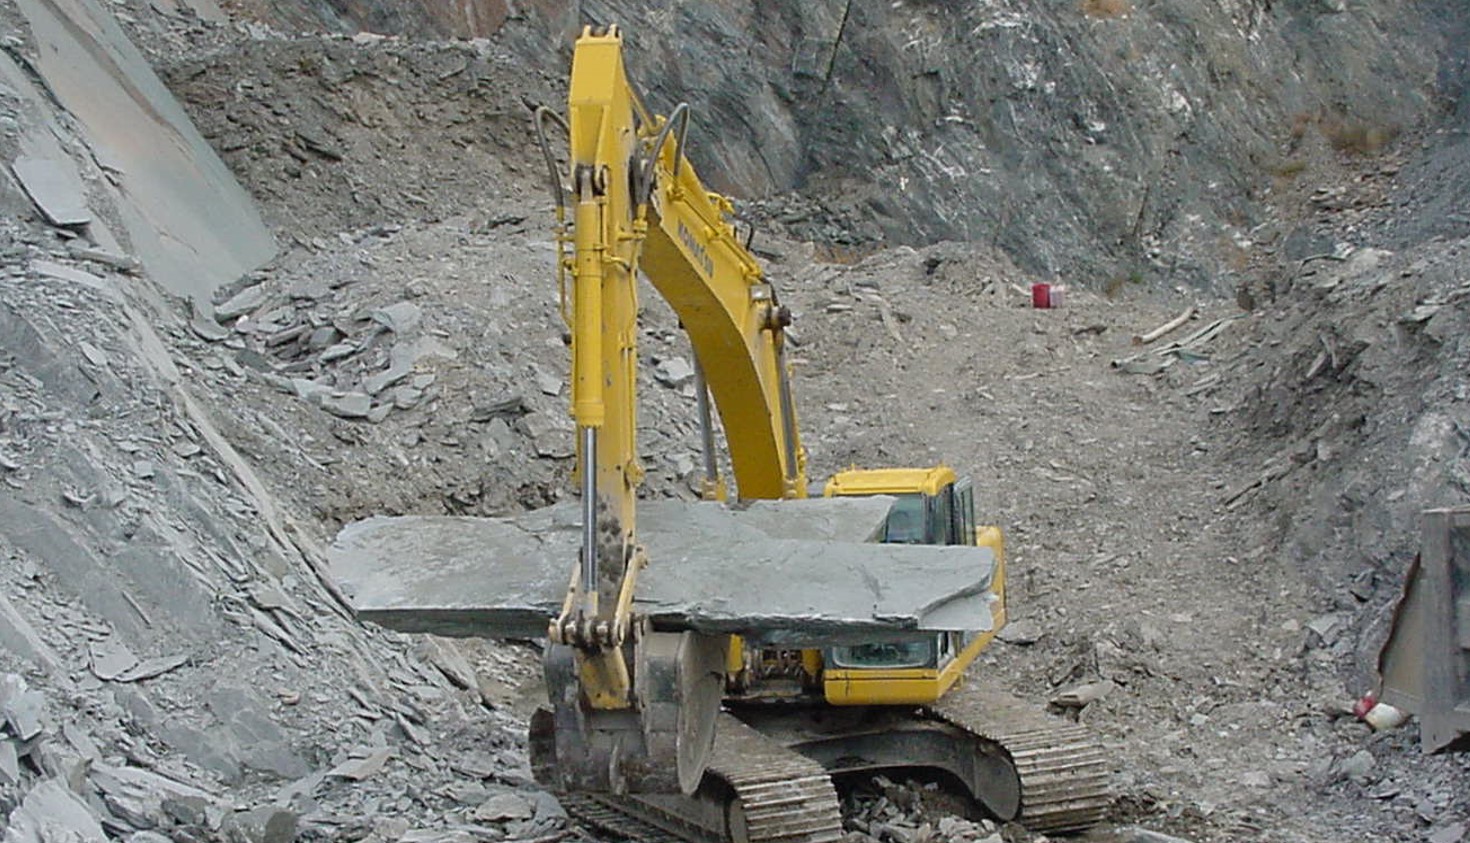
This natural, raw material must be removed from the ground in order to be transformed into a roofing material. In fact, miners today use many of the same excavation and manufacturing methods that have been used for centuries.
Slate is a material that must be mined with precision. The extraction process affects the material integrity, which is why it’s done so carefully. Charges or detonation are left to a minimum to keep slabs larger and to prevent material loss.

Typical extraction methods include the following:
After excavation, slate slabs move on to the “manufacturing” stages where it is processed by hand.
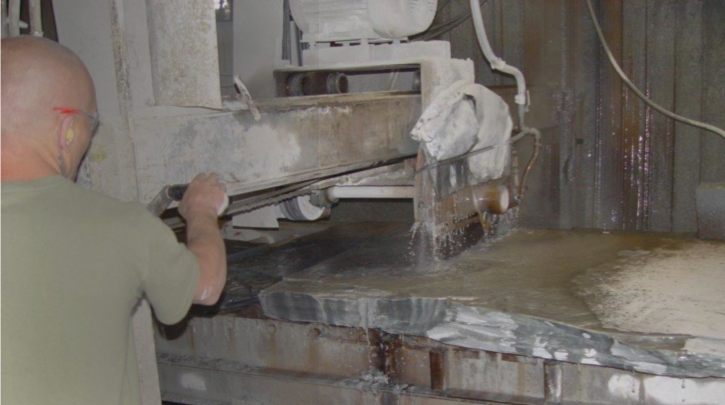
After excavation, slabs are moved from the quarry to a workable facility. Using diamond tipped blades, the slabs of slate are cut into to more easily managed pieces.

Slabs are cut to slightly oversized dimensions to maximize the yield. During this process, impurities are removed from the raw material without using any harsh chemicals.
Slabs are split down to specific thicknesses – all by hand! This is the most technical step in the manufacturing process. In fact, many of the splitting methods used today are the same ones that have been used for centuries.

Only highly-trained specialists can split the slabs to the correct thickness while maintaining the integrity of the natural material. If a slab isn't split in the right area where a natural break occurs in the slab, the resulting tile will be unusable and have an unnatural appearance.
Here's an example of how slate splitting is done using modern tools.

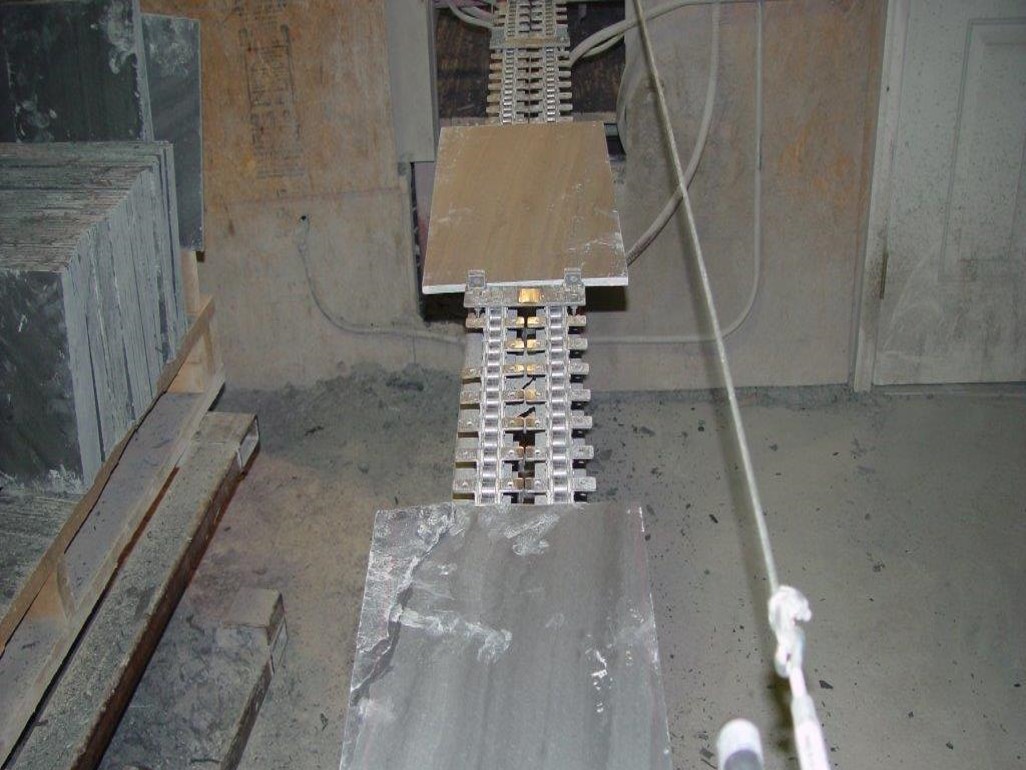
The split slates are now ready to be precision-trimmed to specific lengths. Trimming is the first step that introduces a machine into the manufacturing process.

While trimming can be done by hand or by machine, this step is typically performed entirely by machine because exact lengths are ideal for installation.
Once slabs have been processed into slate tiles, they are then divided into different categories based on color and thickness. A single quarry can produce a wide variety of slate colors and grades. Grades are an indication of thickness, uniformity in thickness and texture.
Homeowners, architects, builders, etc., now must choose which grade of slate and color variation to use in their project.
Slate is never artificially colored. Its color is determined naturally by geological conditions at its formation. Just as slate from different regions vary in durability, it will also vary in color. Slate even varies in its color retention.

Slate colors are divided into two categories based on their color retention.
Slate is graded by thickness, uniformity in thickness and texture.
Besides longevity, there are many other benefits to having a slate roof, including energy conservation. Learn more about this authentic, genuine building material that homeowners are turning to in custom residential new construction projects and remodels here.
